Course Spotlight
2020 PGA Championship: TPC Harding Park Course Guide
Published on
The 2020 PGA Championship at TPC Harding Park is slated for Aug. 6-9 featuring the best players in the world on golf's biggest stage.
The Harding Park Course was substantially renovated in 2005 to better suit it for PGA TOUR and PGA TOUR Champions events. The restoration of Harding Park focused on maintaining the course’s integrity and unique characteristics while enhancing the original layout designed by world-renowned golf architects Willie Watson and Sam Whiting in 1925.
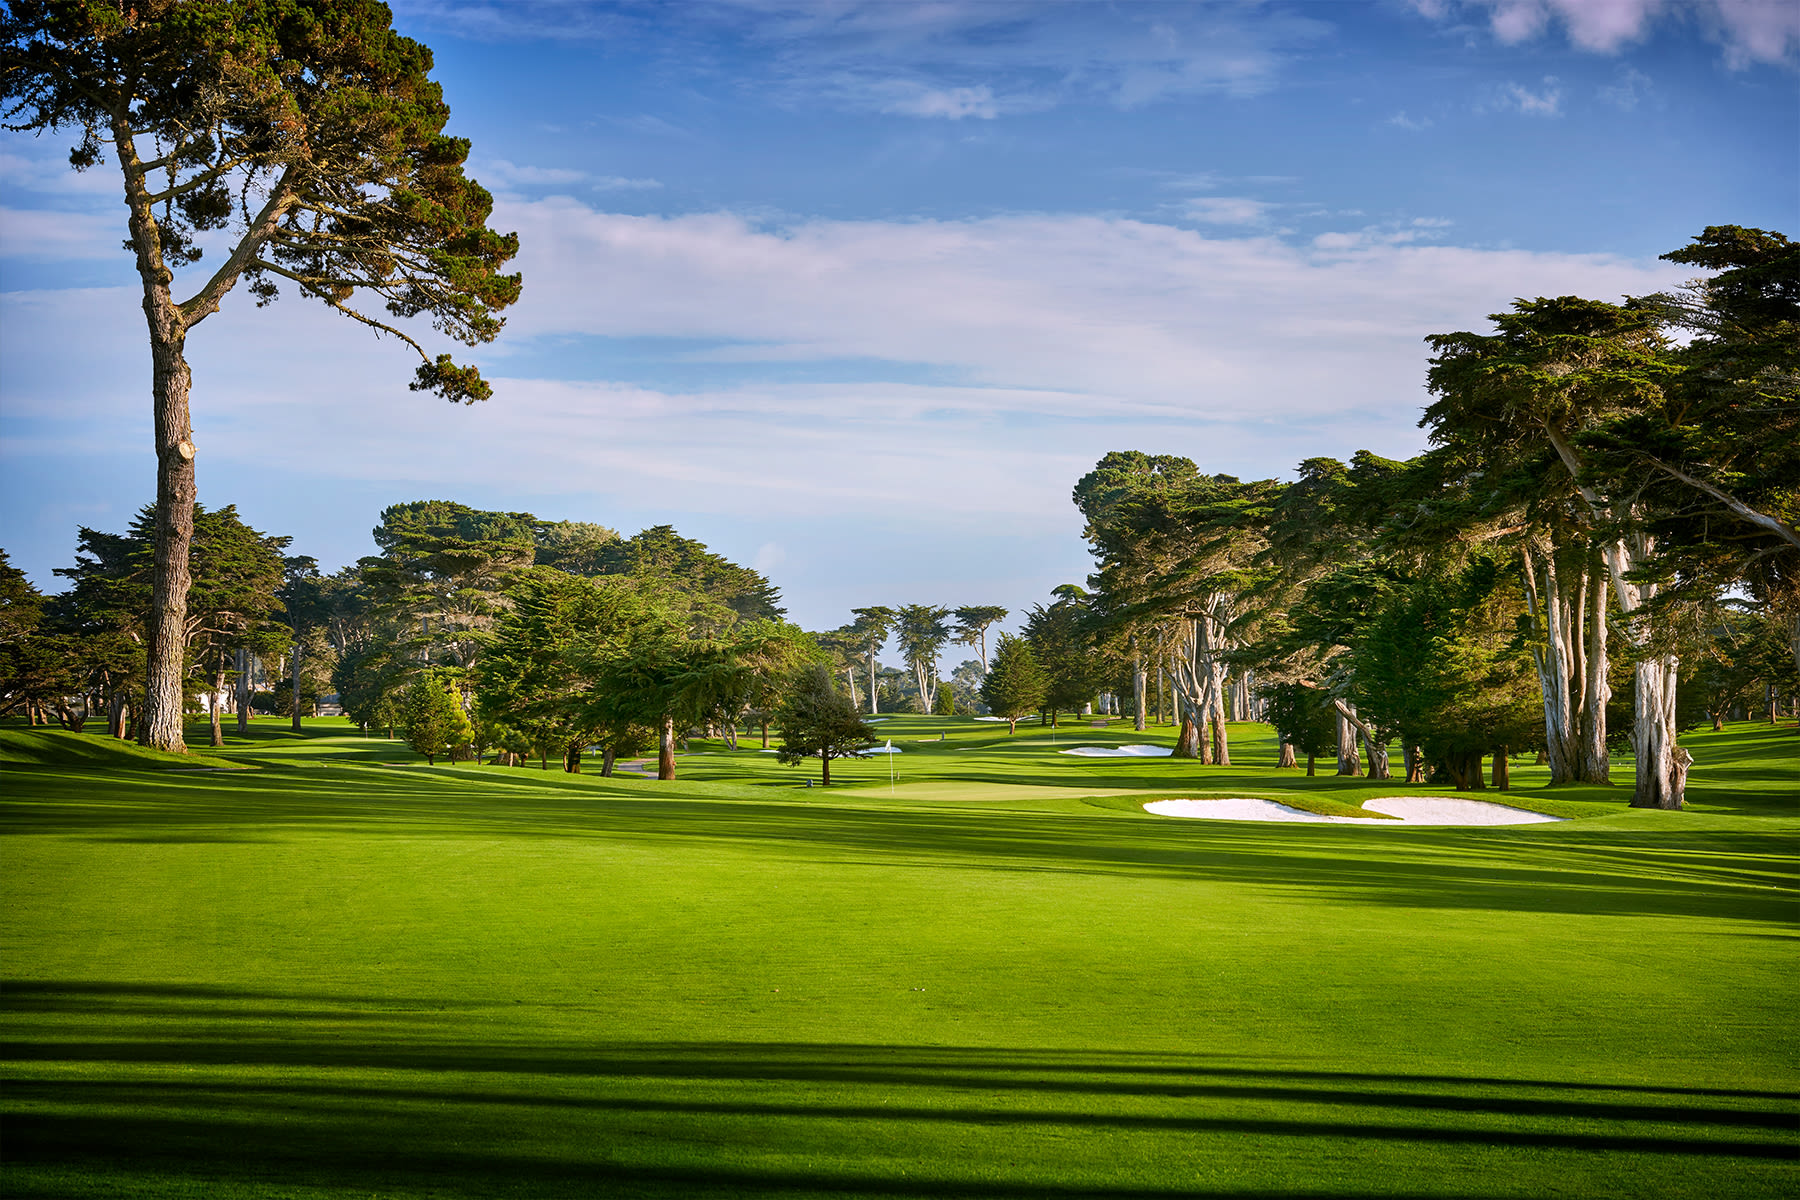
Set against the cypress tree-lined Lake Merced, the improved Harding Park Course layout features soft bunkers and graceful undulating fairways. An additional 400 yards was also added to the course to make it a championship-caliber golf facility ready for PGA TOUR action. The course also underwent a greens renovation in December 2013 re-opened in 2014.
TPC Harding Park General Manager Tom Smith and Head Professional Andy Stoterau shared their thoughts on how to best approach the challenges presented in the Willie Watson and Sam Whitting designed course.
Hole 1 - Par 4, 393 Yards
Easing into your round, No. 1 is a shorter par 4 that is fairly open off of the tee. A well-placed drive to the left side will leave you a slightly downhill second shot into a receptive green with a large bunker guarding a short right miss. An approach shot to the middle of the green will set you up with a good birdie chance. - Smith & Stoterau
Hole 2 - Par 4, 466 Yards
The teeth of the course are on display starting on this challenging par 4. Two fairway bunkers down the left side will catch any drive trying to squeeze out extra yards and a mature Cypress tree flanking the right side of the fairway makes a good tee shot a must. Your approach requires a mid to long iron into a green guarded by a bunker running the entire right side and an overhanging Cypress tree. Par is always a good score on this hole. -Smith & Stoterau
Hole 3 - Par 3, 185 Yards
The first, and shortest, par 3 on the course will certainly test your distance control. Playing significantly uphill, the horizon makes you second guess whether the pin is on the upper or lower level of this two-tiered green. Double check your yardage and don’t forget to gage the breeze between the Cypress trees that frame the hole. Locals contend that pulling an extra club is the way to go as the long miss is much more favorable than finding one of the two bunkers guarding short of the green. - Smith & Stoterau
Hole 4 - Par 5, 607 Yards
The first par 5 on the card is one of the most iconic holes on the property, and it truly embodies parkland-style golf. This true dog-leg left favors a right to left ball flight off the tee as it clearly warns players not to get too greedy with the large Cypress tree guarding the corner. Placement is key on the second shot, so choose the longest club you’re comfortable with to find the right center of the fairway and set yourself up with a straightforward approach. A large green with a false front is protected by two deep bunkers. -Smith & Stoterau
Hole 5 - Par 4, 436 Yards
The only hole on the course without a bunker, No. 5 is a tight par 4 that offers a good chance at a birdie for those who can get off the tee. A good drive will leave you with a short iron or wedge into a long narrow green that’s protected by a tightly mown slope on the left that feeds to a collection area and a touchy up and down and to the right by thick rough that is cut right up to the edge of the green. There’s no bailouts here. -Smith & Stoterau
Hole 6 - Par 4, 472 Yards
The most difficult par 4 on the front, No. 6 asks you to thread your tee shot between thick Cypress trees and favor the right side of the fairway to set up the best angle into the green. If you survive the tee shot, your approach contends with a green that is well guarded with three bunkers short left, a grass bunker short right, and a steep drop off long. If you haven’t tested your short-game yet, you may very well have to here. Par on No. 6 always feels like you’ve gained a stroke on the field. -Smith & Stoterau
Hole 7 - Par 4, 340 Yards
You can almost grab a birdie from the tee on No. 7, but one errant decision and you could be grabbing bogey or worse. Depending on your strategy, you can lay up to a yardage or try to drive the green and contend with bunkers and more. Executing the right decision can lead to a birdie and some real momentum into a nice run of scoring holes. -Smith & Stoterau
Hole 8 - Par 3, 251 Yards
The longest par 3 on the course, No. 8 is arguably the most difficult. Set up to play slightly downhill into a well guarded, front to back sloping green, this tough par 3 asks you to think twice about club selection- or else pay the price. A par on this hole is a solid score and birdies are definitely rare. -Smith & Stoterau
Hole 9 - Par 4, 515 Yards
Set up as a beastly 500-yard par 4, the wind generally blows from the left to right off the tee of No. 9, bringing multiple bunkers into play. Do your best to stay to the left of the fairway for a legit chance to hit it close, and once you’ve reached the green, be aggressive with your putts as the surface is relatively flat. - Smith & Stoterau
Hole 10 - Par 5, 562 Yards
Blessed by the prevailing wind at your back, you can tee it high and let it fly on this reachable par 5. Avoid two bunkers on the right to pick up the perfect angle to hit the green in two, but if you can’t get home, make sure you’re strategic with your layup as the fairway frequently bounds second shots left into the rough. A false front can laugh away even the best approach shots, so be confident with your club selection and know that the center of the green is never a bad option. -Smith & Stoterau
Hole 11 - Par 3, 200 Yards
No. 11 is a tricky downhill par 3 that typically plays with the prevailing wind. A well-played tee shot will give you a great chance at birdie, but respect this hole as bogeys like this corner of the course, and it is really easy to sail a shot over this green and out of bounds. Be cautious with your pin hunting. -Smith & Stoterau
Hole 12 - Par 4, 494 Yards
Cypress trees line the right side of this big par 4 and they frequently shut down overly aggressive tee shots from players trying to make it a bit shorter. The green is inviting at first glance, but be aware of the four bunkers short, the large overhanging Cypress right and the hidden surprise of a false back edge that always comes into play when the pin is located in the back quadrant. -Smith & Stoterau
Hole 13 - Par 4, 472 Yards
No. 13 brings the clubhouse back into sight but know that you’re still a long way from home. This double dog-leg par 4 asks for a great drive up the right side to avoid being stymied by the massive trees that guard the left and a perfect approach is required into a very difficult green that’s defended by a false front and a large bunker. Rest assured, par on this hole is not a bad score. -Smith & Stoterau
Hole 14 - Par 4, 470 Yards
One of the most visually deceiving holes on the course, this par 4 plays directly into the prevailing wind that can add 20+ yards to the scorecard. Starting with a downhill tee shot to a sloped fairway that pays homage to Willie Watson’s other San Francisco gem, Olympic Club, No. 14 moves to an approach that frequently leaves you on a sidehill lie and the ball above your feet. A left miss finds a greenside bunker, and anything short leaves a tough uphill pitch shot. So don’t be modest- the approach shot requires a minimum of one extra club. Par on this hole feels like you’ve gained a shot on the field! -Smith & Stoterau
Hole 15 - Par 4, 401 Yards
Playing well downhill, the movement on No. 15 is superb. You can leave the driver in the bag off the tee as position is paramount on this tricky par 4. A tee shot just short of the fairway bunker is ideal, and it leaves you a manageable approach into a green flanked on the left side by a large false edge. Hit it long of the pin and hammer a putt, and you might be chipping your next one. Yes, this green is that fast! -Smith & Stoterau
Hole 16 - Par 4, 336 Yards
No. 16 may look like an easy hole, but it's a wonderful example of risk and reward. Set up as a tight driveable par 4 flanked by fairway bunkers and Lake Merced on the left and huge Cypress trees on the right, this tricky par 4 asks you to be decisive and aggressive with whichever path you chose. Anything short of the green favors the left side over the right, and make a mental note that there is more break on the right side of this tiny green than the eye might let on. Don’t believe us? Ask John Daly. He lost the 2005 WGC Amex Championship here by missing a 4-foot downhill putt. -Smith & Stoterau
Hole 17 - Par 3, 171 Yards
Set up on the scorecard as a short, straight forward par 3, this might be glossed over by some, but playing this hole is a whole different beast. Playing directly into the prevailing wind and truly the most exposed hole on the back nine, No. 17 frequently asks you to club up one or two clubs, avoid the mature, par-killing Cypress tree guarding the left side of the green and sink a putt on a large surface that features some of the best movement on the course. -Smith & Stoterau
Hole 18 - Par 4, 463 Yards
One of the best par 4’s in the Bay Area, this closing hole frames the theme of a San Francisco golf course- green grass, mature Cypress trees, views of San Francisco neighborhoods, and even a peek at the iconic Sutro tower in the distance. The 18th tee box is a wonderful spot to reflect on your experience at Harding Park while remaining focused on the most difficult tee shot on the course. An ideal tee shot carries Lake Merced, heads up the right side and avoids the trees on the left that leave golfers with no view of the green. The approach shot maintains the theme of difficulty by playing slightly uphill into a narrow, two-tiered green guarded by two deep bunkers and Cypress trees overhanging the left side. The common short, right miss requires a tough up and down to save par. -Smith & Stoterau